Saturday, April 6, 2024

Dollhouse kitchen counter

I decided to make the counter from scratch because of the limited amount of space in the kitchen. This was all made with basswood. The cabinets have pin hinges. I bought the 3D printed sink but won’t mention the maker because I had a lot of issues with it. They made the drain hole protrude up  instead of down so I had to do a lot of sanding and cutting to get it lowered. It also had a lot of texture and took loads of sanding and painting to smooth it out.

There is a lot of preplanning that goes into building mini cabinetry. Graph paper is ideal for sorting out the measurements! 

I found this cute bee themed scrapbook paper in my stash, that I have always loved, so I took a photo of it and printed it out in miniature. It was perfect to line the drawers and cabinets with! 

I love the faucet! That was 3D printed by Tease Miniatures on Etsy. She has a fabulous collection and they are very good quality.


The counter top is printed and sprayed with a sealant and then wrapped around basswood. I am really happy with how this turned out! Now I just have to make a range.

Dollhouse tile and pavers

 Hello again! Today I will be sharing the Sweet Honey Cottage veranda and walkway construction.


I thought a honeycomb tile design would be perfect for the upstairs veranda. I covered the floor with wood glue and rolled out paper clay and installed it up there. I stamped out the design while it was still wet but forgot that if you cut too deep in paper clay it will pull apart as it dries because it shrinks. There was a lot of patching to do as it dried. 

I have learned over the years that when things don;t go as planned to just roll with it and remember these things will give your project character. The most important thing is to NOT panic and use the mistakes to your advantage. Take time to carefully consider how to recover in a way that will add to your project.


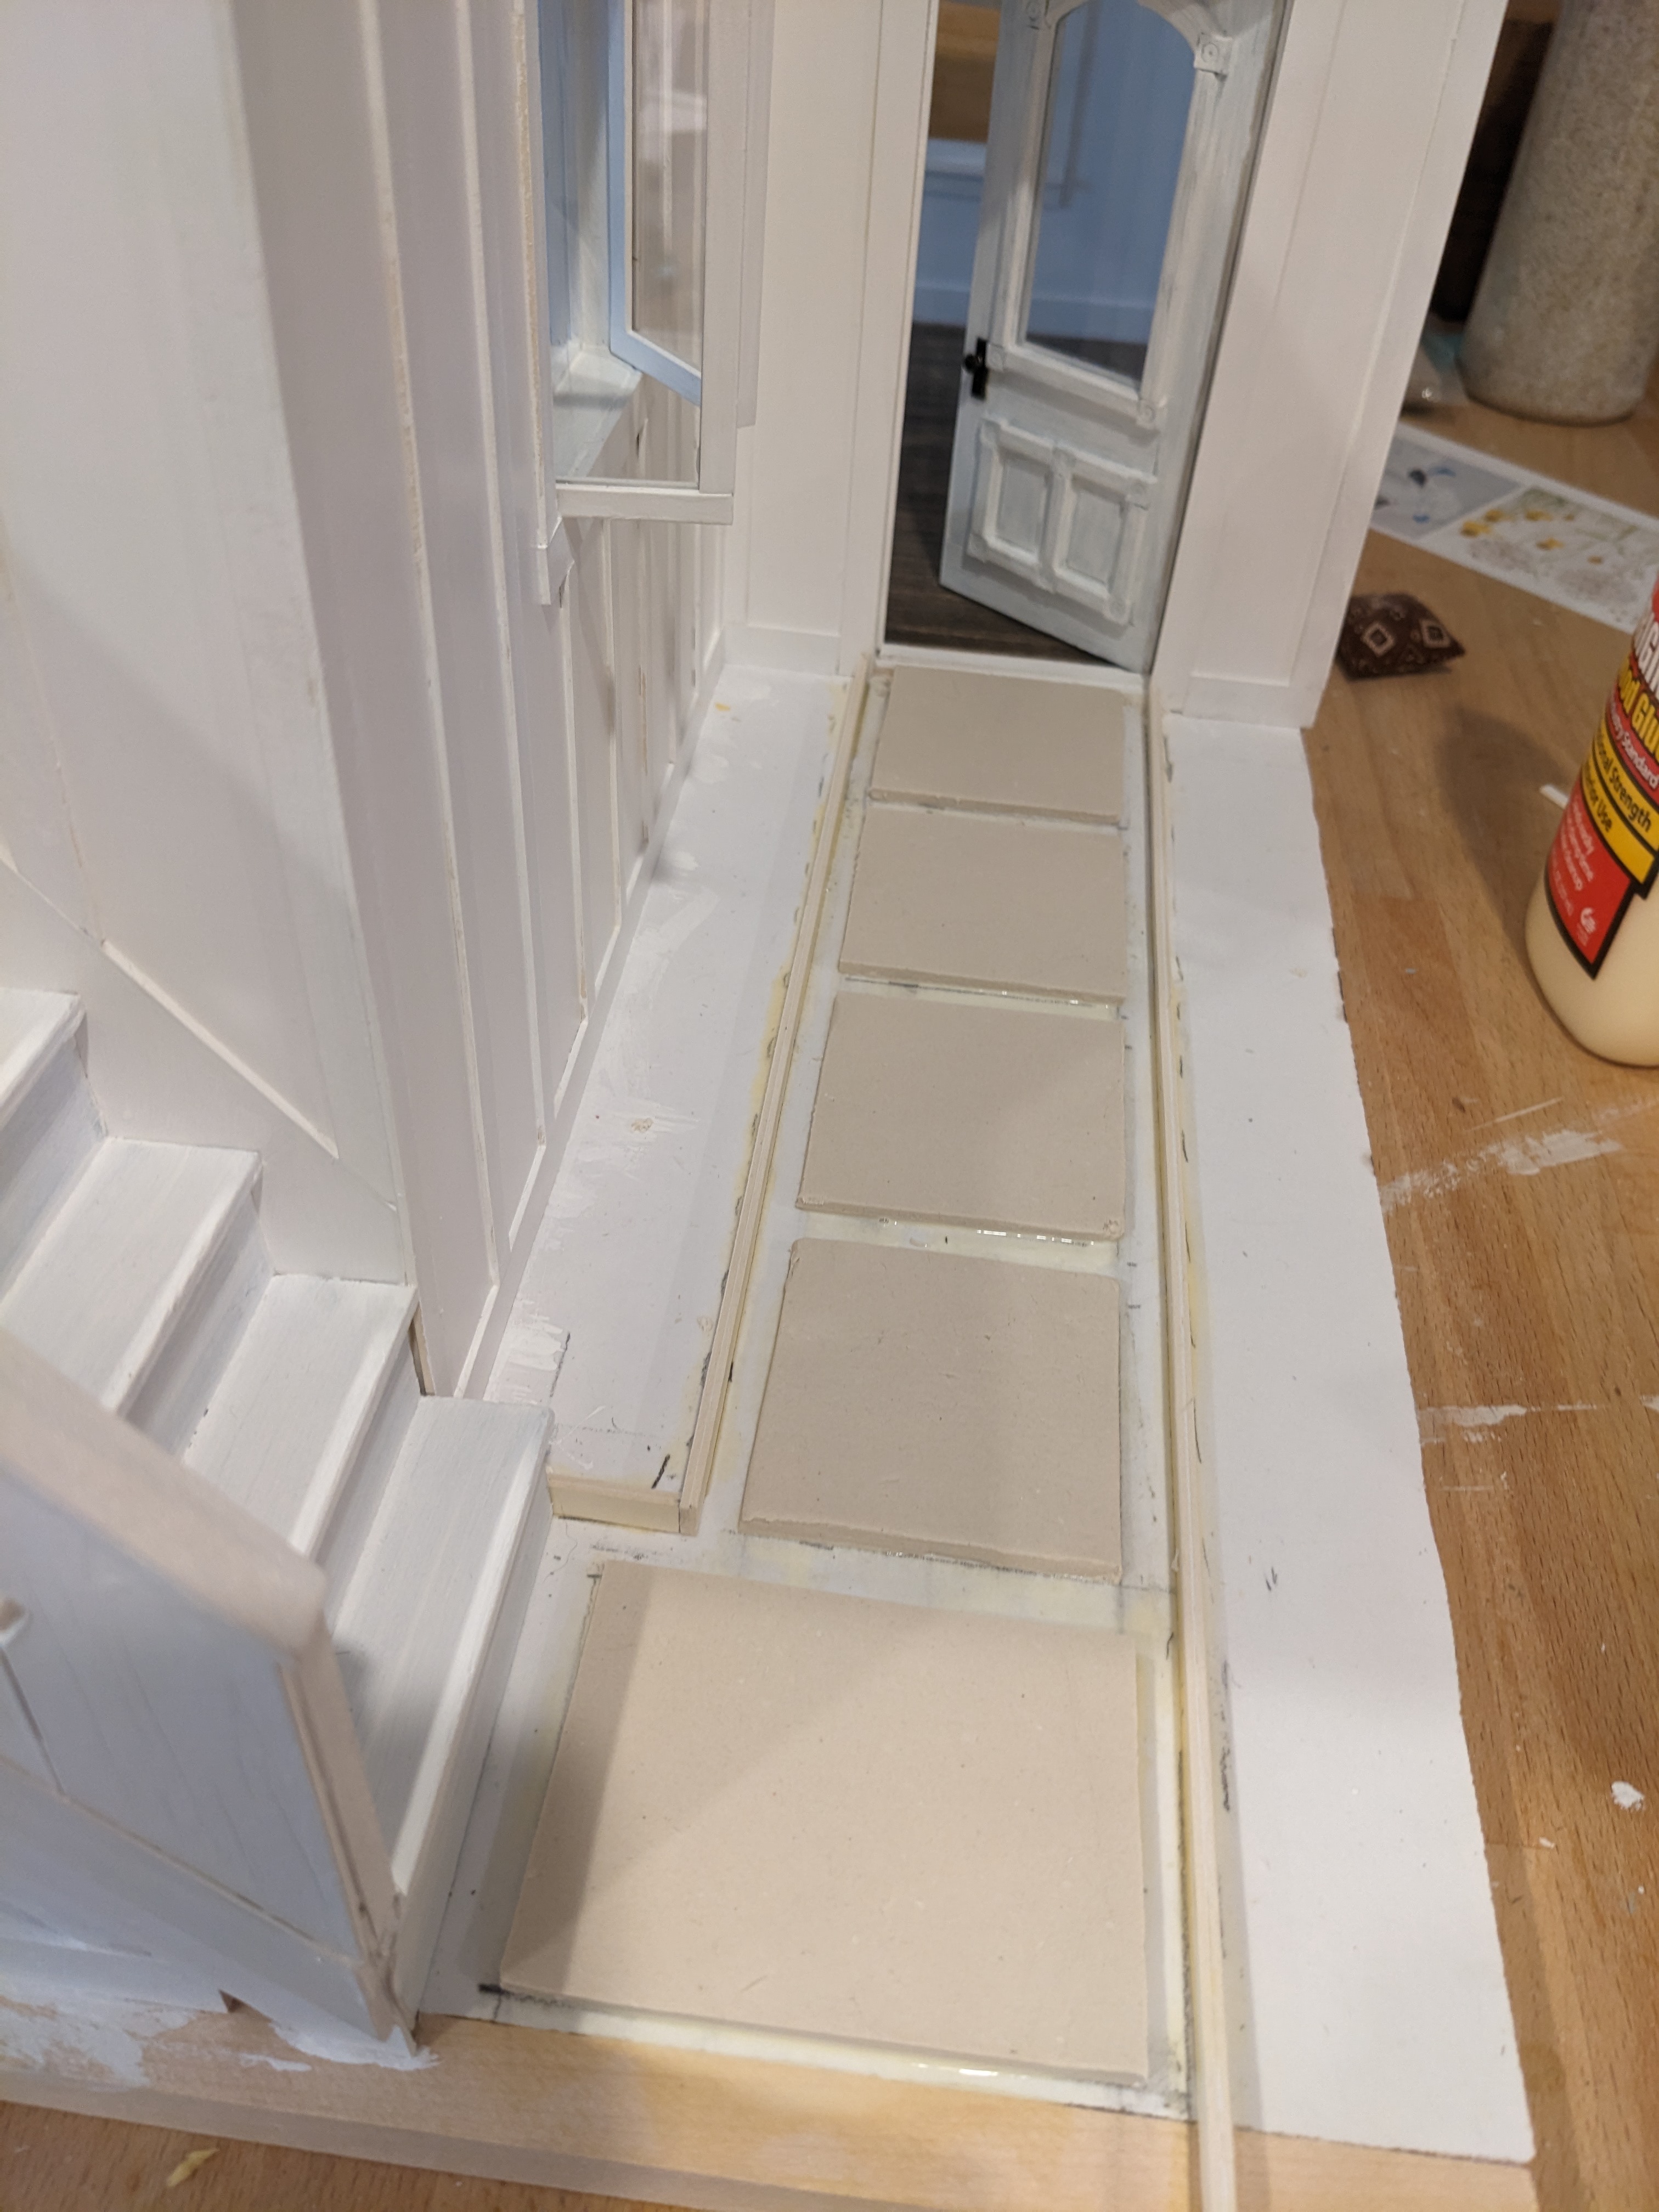
I wanted to share the pavers kerfuffle because I had a lot of trouble there, too. They pulled and stretched as the clay dried and were not perfect rectangles anymore. It was way too distracting to the eye so I decided to glue mat board on top of them and then faux paint them. I am SO much happier with the end result. Now it looks clean and your eye doesn’t get stuck on them, and is free to look around the front garden. Then the small pebbles framed them beautifully!


Dollhouse modern farmhouse


This was my first modern farm house roof, which is actually one of my favorite things about my new full-scale home!

Here is a shot of my full-scale home just as we moved in. This was such a difficult time for us. My boyfriend went in for open heart surgery to repair an aortic aneurysm and I had a car accident right after I visited him in the hospital. Then I had to move both our things into the new home on the day he came home from the hospital! His recovery is going well and we are still settling in three months later. 

But this mini farmhouse build happened months before all of that, so let’s get back to it!


The entire exterior was first covered in white mat board and trimmed, then painted white.


I used black mat board to help the painting process go a bit quicker for the roof. I installed the two big pieces and then installed the corner roofs and covered them. Then I trimmed everything and added the roof lines. 


Everything was painted black and varnished. This is when the house came to life!  


Then I built the rail with a crisscross design that had the charm of a farm fence. And the outside steps were added with a hiding place under them for the electric. The birdhouse acts as a knob to help remove the magnetic panel. I installed lights under the stair rail.  Next I will share the base...


Friday, April 5, 2024

Dollhouse wood flooring

Hello again! For this post I will be sharing the farmhouse flooring. This is a sheet of wood flooring from Hobby Lobby. 


I stained it with a dark stain and one it had completely dried I used this handy sanding tool that was recommended to me by April Nugent (@aprilsminiworld on Instagram!). This is actually how we became great friends. Now I think of her with a smile every time I use it. It definitely is easier on your hands and skin.


I fold over each plank and sand in-between. This makes the floor look much more realistic without all the rough edges. Then I use a course brush to clean out all the dust from sanding. This is a very messy job so I would recommend doing it outside or over a trash can.


Install the floor sheet with wood glue and put some books on it while it sets. Then use a microfiber rag to be sure it's clean and brush on some varnish. Sand lightly, wipe again and reapply varnish. You can sand a bit more if you want a rustic look. I like to sand more in the high traffic areas.


Above is a beautiful little toy lamb made by artofmini.com and a doll made by Karen Tadman @karensminibears on Instagram


Thanks for stopping by! Next, we will start the roof assembly...


Dollhouse windows and doors

Last year, while I was waiting for my new home to be built, I decided to make a mini version of it. I have moved twice in 2 years, originally selling my family home. It has been a bit rough, but well worth it. Now I have some time to update this blog! Over the next several posts I will share the journey of making a miniature modern farmhouse from scratch. This is the finished downstairs...


I did something different this time by making my windows and doors before I constructed the house.

I first designed the house and knew the height and widths of the walls, but the holes for the door and windows were not cut out.


I used mat board and Plexiglass for all the windows. Basswood was used to make the frames. These do not open/close. Above shows a few of the finished frames installed in the walls.


The doors were made with mat board and wood and all have a pin hinge. For a pin hinge, you need to drill a hole through the frame and into the door then insert a metal pin. I use sewing pins that I snip to the right height. Then you install the entire frame with the door inside into your house. It has taken me years to get this method down. You have to keep the measurements the same all around the drilled hole on the edge of the door top and bottom. And be sure to go far enough in from the edge that the pin won’t split your wood over time. Also do a test fit to be sure the door opens all the way. There may be some sanding required if it is too tight in the frame.


The front door was made to look like a salvaged Victorian door. I used a broken end of a paintbrush to press in a circle design into the trim and then defined it with a wood sculpting tool.


The upstairs door was Plexiglass, mat board and wood (shown in a later post).

Windows and doors were trimmed out with basswood cut with a miter saw.


You can use beads for knobs and cut cardstock for the knob plate. Or buy premade knobs. I used tiny Chrysnbon window latches a friend gave me and painted them black.


This shows the downstairs assembly. The kitchen window was made to stay open and there will be an entry behind the far right door. Hello piggy!