Tuesday, July 27, 2021

Dollhouse kitchen back splash tile


Elf Miniatures has some great kitchen kits! How did I not know about this?
Luckily I did lots of research online and found them HERE


Elizabeth was even there for me via email when I had a mini melt down and needed a little assistance. 

18 pages of directions resulted in a perfect little kitchen for the cabin.


I added some fun drawer liners with bears and pine trees since this is a mountain cabin. 


The sink was a coarse 3-D print out so I covered it with clear nail polish let that dry and spray painted it with white enamel paint. Then I added a little drain. 


I purchased the black faucet on Etsy. It is a high quality 3-D print made by Tease Miniatures.


I opted to change the hardware on the cabinet and drawers so it was a little more rustic than modern.

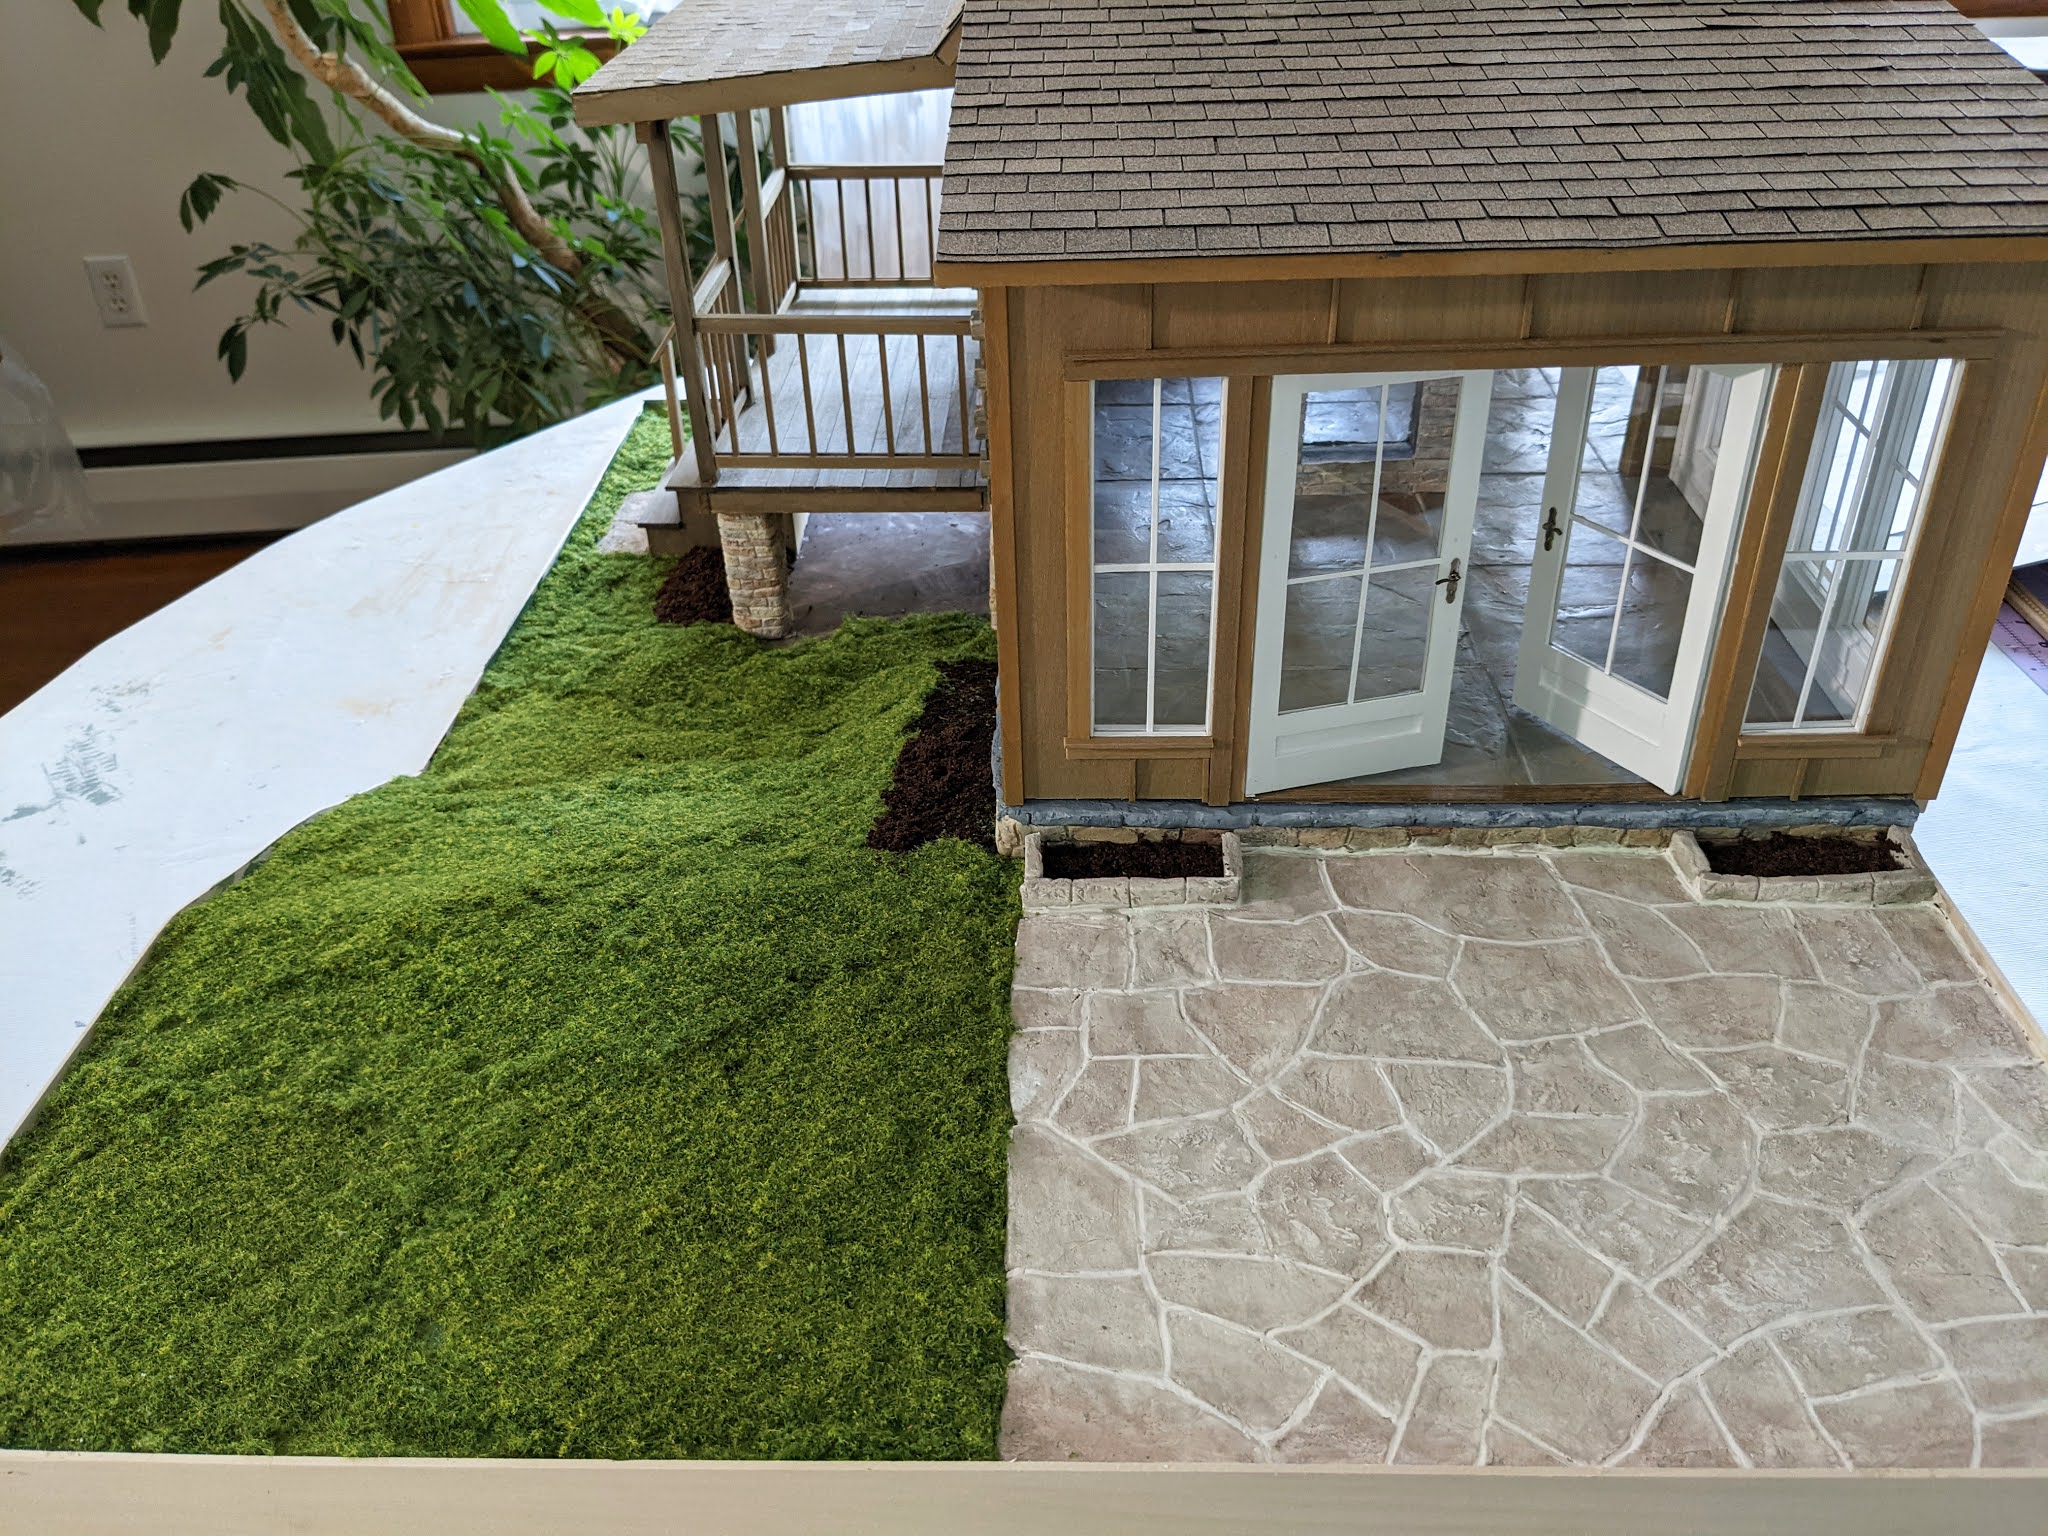
This cabin could be a vacation rental or a home.


The oven is not on a hinge, but does open if you want to have something on the rack while the door is shut. It fits snuggly in the hole. I love all the buttons and dials that came with the kit.


The non-opening fridge was from Elf Miniatures as well. A beautiful piece and very affordable!


Having shelves on the wall was a must to hold dishes and I also needed some back-splash tiles. I thought I would share a realistic way to make a small area of tiles in miniature.


Measure out your area and make a file you can print on the computer (or use pre-printed tiles).

I printed mine out on card stock and cut to fit the area they would cover.


Cut a piece of clear packing tape a little longer than needed and carefully lay it over the tile print out starting on one side and slowly pressing down the tape on the paper until it covers the full length. You need to do it like this because static will move the paper as the tape gets close to it so it may end up crooked or have wrinkles.


Put some paper over it and burnish it down really well with a credit card. The paper is so you don’t scratch the tape surface.


Trim away the excess tape. 


Use a small stylus ball tool and a metal ruler and run the stylus along the grout marks to make a nice indent. This gives the illusion of individual tiles.


Glue it onto the surface and rub it down as it dries.


Next up will be getting my lights all hooked up!


Wednesday, July 21, 2021

Miniature bush shrub

The Timber Cabin needed some landscaping so I made three bushes and filled the patio garden beds with some flowers. After watching some YouTube videos on landscaping diorama’s I came up with a method that would work for what I needed as far as bushes.

Sometimes with projects you have to be patient for everything to naturally fall into place. While pondering what I would use for the bush skeletons, I found myself pruning the heather in my garden and saw the perfect solution in the debris pile. 


I had been talking to Jeff Winkle, who just finished a year long workshop of landscaping in American Miniaturist, and he shared that using things from nature for the base of trees and shrubs would always look more natural than manmade frames.


Jeff has so much knowledge from endless experimentation with many different mediums and techniques. He even sent me a fabulous sample gift box full of all sorts of materials he has created over the years! 


First, I stripped the needles off of the heather cuttings because they will fall off easily over time so you should not expect them to be part of the bushes framework. Then I used pruners and shaped the bush to my liking.


Jeff had sent me some Poly-fil that was brown and green. This was great because I has planned to spray paint some to use for this, but now it was already finished! If you need to make some, just pull it apart so it is thin and flat and spray it with green or brown spray paint. Mist it and don’t let it clump. It must be completely dry before you use it. Wear gloves when handling.


I pulled and stretched it over certain large branches to simulate smaller sections of branches. I could have applied it in smaller batches. Always do a test first.


I leaned out my window and sprayed it with Elmer’s glue spray and then sprinkled a mix of diorama ground cover all over it. Mix your colors to add realism and depth. Let it dry for a half hour or so. 


I went in with scissors and snipped away some strings and opened up some areas that were clumping. Then added more Poly-fil and repeated. After it dried overnight, I sprayed it again with Elmer’s spray to set. I tried hair spray but it didn’t hold.


They look pretty good. The main focus needs to be the house and these are quiet enough to blend in. Still need to add two more on either side of the steps but I want to try a different method for those.


I decided to keep the landscape simple so if the future owner of this house wants to add their own touches they can make a big garden ad add some trees too!

Friday, July 9, 2021

Timber Cabin miniature grass

There are so many options out there for making grass in a miniature scene. I like to use a different techniques for each of my projects. It’s important to pick a technique that compliments your piece. The white cottage called for something simplistic and whimsical so I simply used a coffee grinder and some reindeer moss. Ophelia’s house needed something more thoughtful and wild so I experimented with static grass.

White Cottage


Ophelia's house


For the cabin, I wanted something in-between those two options. While researching I found this new product. It’s basically a polyester fiber with flocking. I like it because you can easily tear it and patch it together. You have to work it a bit to get nice blends. It gives the illusion of a yard with erosion and divots. 


The landscape consists of floral foam that I glued in and carved to shape. I also applied some fast-dry/no-sand spackle to smooth out any deep dips and gaps in the foam. Once dry, I painted the spackle areas to match the green foam.


I used Walthers SceneMaster HO Scale Tear & Plant Meadow Grass (Light Green) but they have other shades, textures and scales. First, lay out a few sections at a time then peel them up and put down some white glue. Rip them and overlap as you put them down. Press the sections down and also use glue where it overlaps onto other sections. If there are little areas where the under surface shows through, just put a little glue and scoop up some of the flocking that fell off and fill them in. This was a fun product to use and I am very happy with the results.


If you feel the grass will be temporary you can get some very thin green wire, snip 1” pieces, fold in half and push down in sections to keep the sheets down.


For the flower beds and mulch ares where there will be bushes, I mixed up some dried black tea (that had been steeped) and white glue and used a palette knife to apply it on top of more white glue. When I add flowers or bushes I can push through the hard tea leaves or drill through and push the stems in.


Next up, I will be adding dirt and leaves under the deck and some shrubs along the side of the house. So check in later. If you have any questions feel free to ask. Mini hugs!


Thoughts while on 'staycation'


This last week I gave myself a vacation, well more like a ‘staycation’. It was a stay at home and catch up sort of break. Being designer/editor to both American Miniaturist and Dollhouse Miniatures is a very intense job and I love it! It’s fast paced and things change quickly. Being a regular contributor is also intense. It’s not part of my contract with Ashdown, but it’s very enjoyable to share and inspire.


Weeks leading up to my staycation, any feelings of joy while creating had vanished. You know that wonderful feeling when your imagination feels as if it’s floating around and carrying you along? Sort of like a Red Bull commercial. :) That feeling had been gone for months. Suddenly it was clear that a little break was needed. 


After having my Instagram account suddenly shut down a few weeks ago I decided to create this blog because it’s less likely to disappear at the snap of an algorithm’s finger. Then the IG account came back. I didn’t fully trust that there was not a hacker behind the scenes and already started a new IG account. (BTW the support from our community in spreading the word about my new IG account was overwhelming. I felt the love and our community has LOTS of love!) I immediately announced this blog there incase the new IG account also turned to dust. 


Then this week my original account was suddenly taken away again. This time it did hit me a little harder and this is why – I gave something that was unstable to much of myself. What is it they say, you get what you pay for? Well IG is free so you can’t complain when you’re bombarded with ads and stalked by hackers and spam or deleted. But seeing all the projects and messaging other makers and sharing stories is so enjoyable.


Social media can sweep you up and easily carry you away. It's full of endless stimulation, often more than one should have in a day to be healthy. We become programed to pick up our phones and swipe, it becomes habitual. All the while Instagram’s only intention is to sell advertising. No human support, only a cumbersome help website. Basically we are working for Instagram so they can sell advertising, but we get no assistance when we have issues. Interesting. But they have made it so much fun, when it is working, we just get on the ride with no forethought. I have been reading that many people are leaving IG because they are realizing this and because of the rise in deleted accounts and hacking.


Upon waking up this morning, in a place of peace. I wrote down things that make me happiest about creating; Inspiring others to create, sharing my knowledge, encouraging others to push their creativity and self esteem, sharing my creations/collection with those that appreciate miniatures and selling my art to those that will cherish each piece. These are all things that can easily be done without IG. There are endless amounts of stable platforms to do all of these things. 


Social media can’t take away your creativity if it disappears. Yes, you do make friends on social media and the art is inspirational. Just be sure to have a healthy relationship with it. Go there for a purpose, not just because your bored or because it’s a habit. Keep a list of your favorite accounts on paper or in your computer. If IG or FB decide to shut you down without warning you can start a new and still visit your favorite makers and message friends. 


Yes, you will loose your follower numbers, but true connections are more valuable than numbers…right? The algorithms keep a large percentage of your followers from seeing your posts anyway and many only follow to be followed back. Human connections are real and valuable. This should be our priority as a society.


Feel free to comment and share any thoughts on this, thanks so much for taking the time to stop by. Now I’m off to let my imagination sweep me away. Big hugs to all of you! ~Auralea


Wednesday, July 7, 2021

Stone work for miniature cabin


I started making ‘stone’ with Paperclay after reading Rik Pierce’s tutorial book years ago. If you don’t have this book and you are serious about being a miniature builder you need to purchase it asap. It is well worth the price and is filled with knowledge from an amazing artist as well as an outstanding person. Rik passed away this year, but left behind endless amounts of knowledge and passion for our art form. Because I believe his knowledge and endless generosity should be supported I won’t be sharing a step-by-step for the stone work, you can find everything in fine detail in his affordable tutorial book by visiting his shop HERE

However, here are a few photos showing my progress on the stone work. 


I have been making stone work for years and have developed my own techniques added to Rik’s crucial ones. Here are a few tips:

-Press down any lifted clay along the grout lines while sculpting with your finger

-When dry, the clay may sink in the center of the ’stones’, so add more clay and blend until level.

-While drying, the clay may pull away from the grout lines and leave cracks. Fill those in with moer clay and redraw the grout lines or leave a few cracks and tuck some 'grass' in them.

-The paint will always dry lighter than you think. 


After the paint dried, the patio was grouted. Usually I don’t do this step and just leave the line I drew alone, but I wanted a rustic outdoor look so I mixed up some spackle and water and put it in a squeeze bottle. Apply slowly in the grouted areas. When dry, it turns white.


When it was almost dry, I ran my finger along and took away any excess spackle. Then reapplied here and there until It looked complete. 

Once completely dry, give it a light wash of grey or brown paint and blend into the ‘stone’.


As you are making your stone work, remember that even in full scale sometimes imperfections add charm and create a mood that tells a story. Be aware of those little hints your project gives you and don’t be afraid to think outside the box. It’s those little moments that will “wow” your audience. 


If you feel this blog has helped you, please consider donating what you can using the donate button above left. All funds will be used to purchase supplies and materials to be shared here as well as given back to other miniature artists. Lot’s of love to you and have fun creating!