Saturday, June 19, 2021

Dollhouse landing rail tutorial


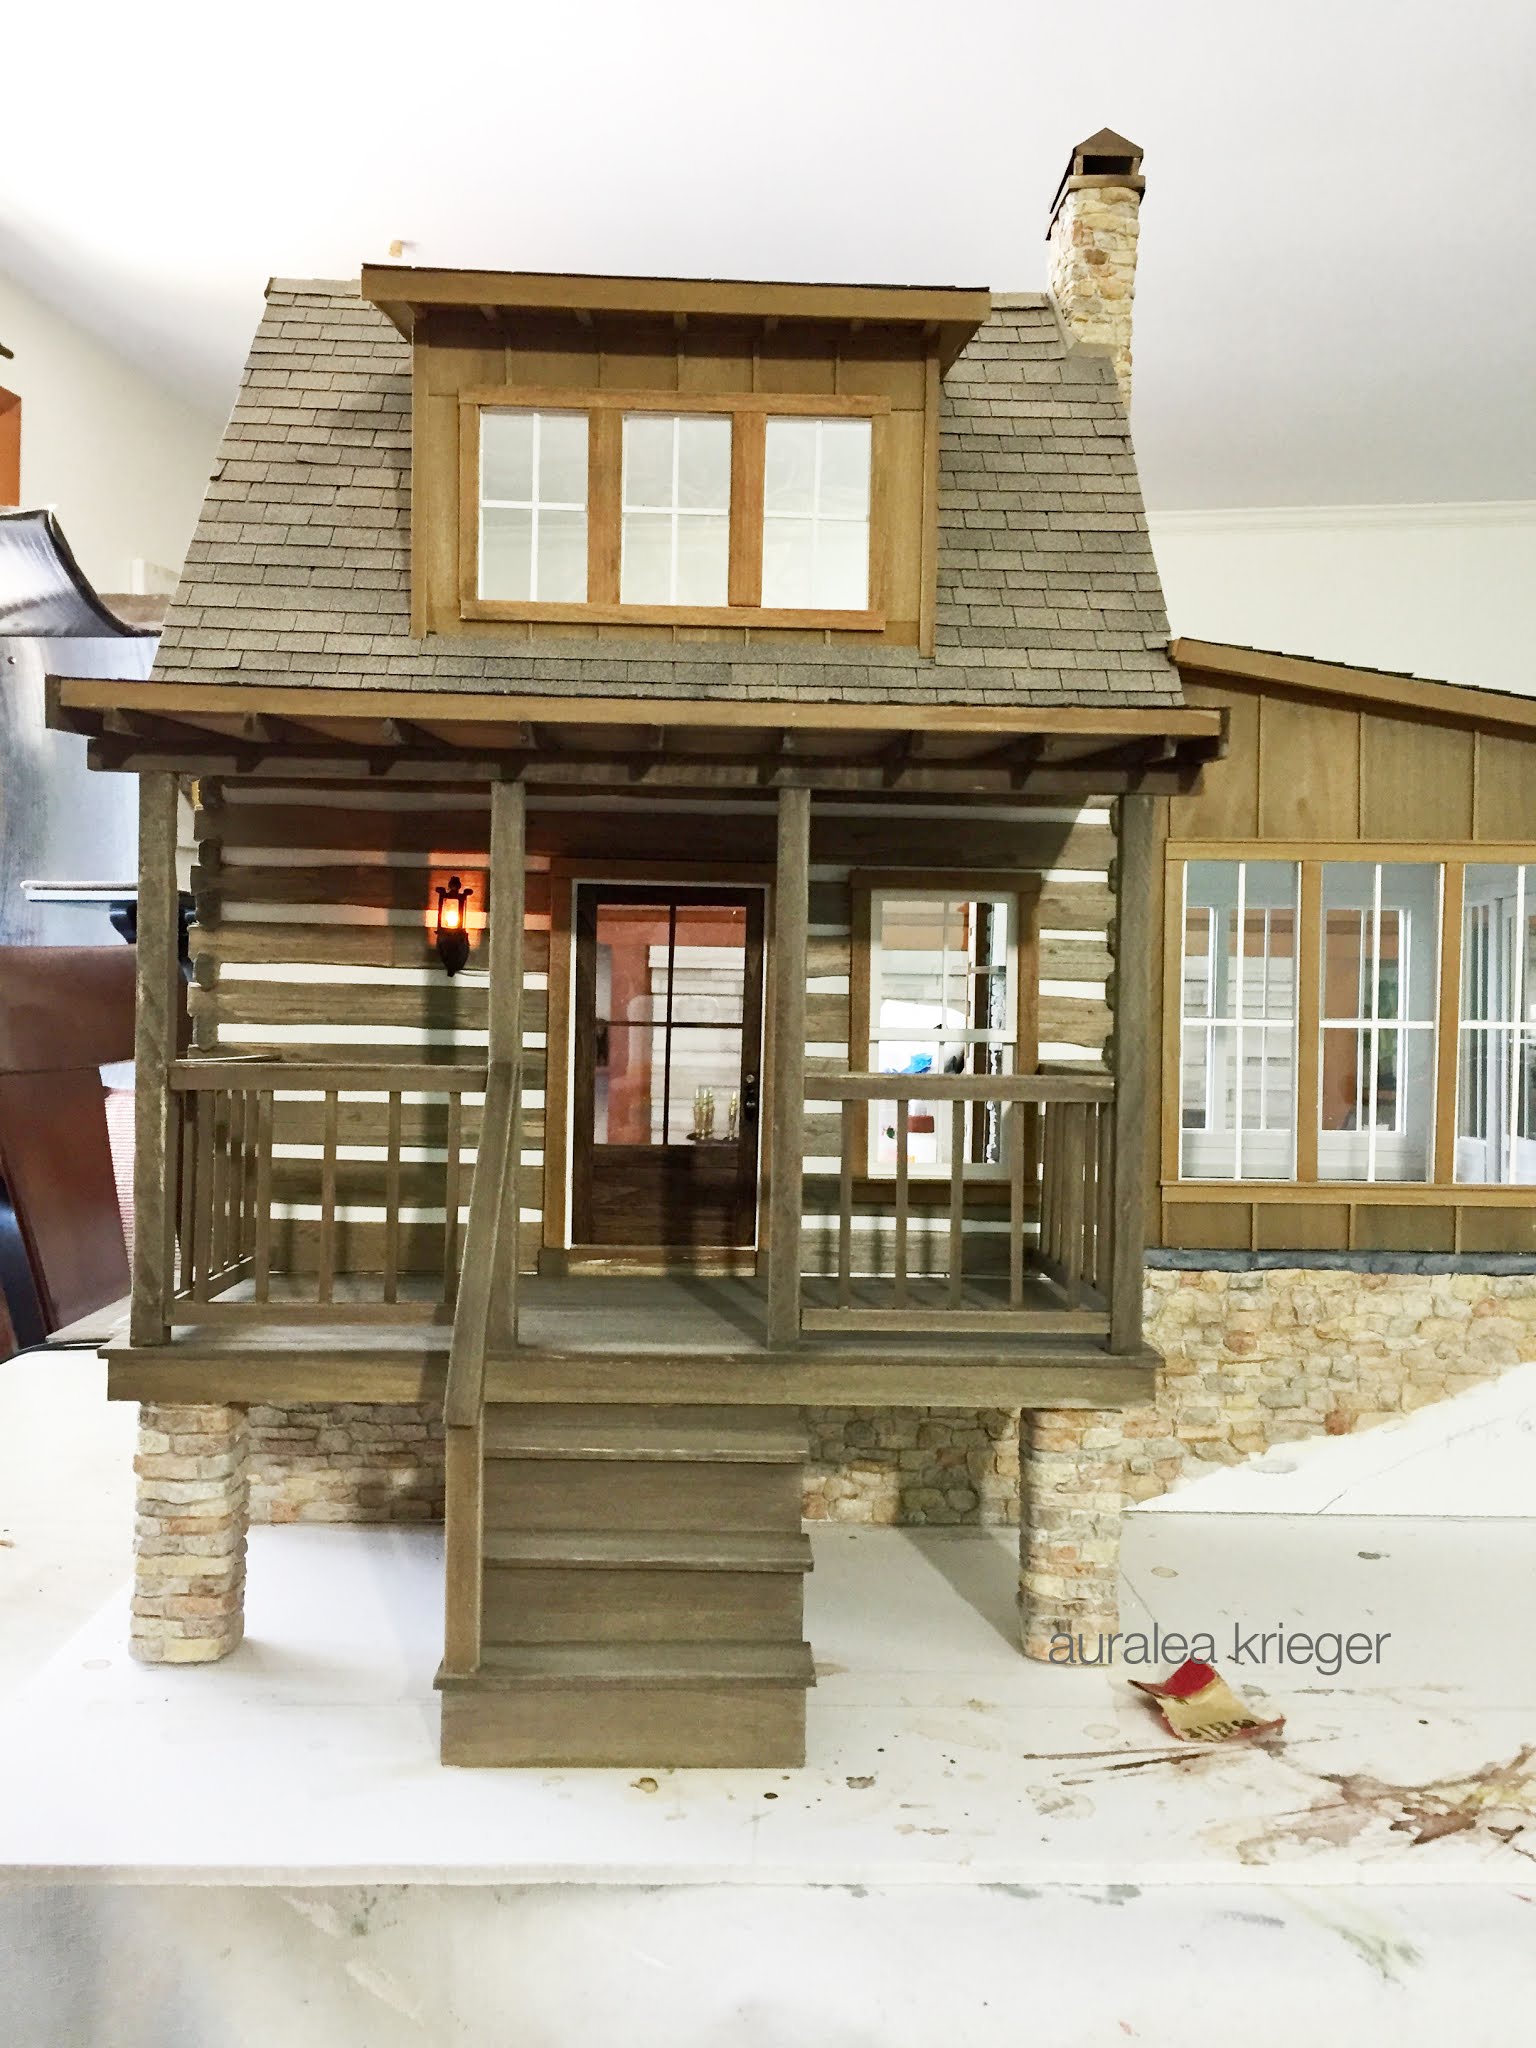
Today I made the rail for the second floor of the cabin. Thought I would share how I did it incase it helps someone out there. After I cut my posts and determined the length of the rail, I painted all the components. 2 posts (I put caps on them), 2 sides for the rail, 1 top for the rail (I stained that piece) and 7 spindles.


I am going to glue the spindles inside two flat pieces that will be the rail sides. This is also how I made the cabin porch rails below.


Determine the height of the top rail and where the floor will be, by lining it up with your post. Tape down one of the 

pre-cut rail sides on a cutting board. Line it up so it’s straight and centered within the inch markings on the board.


My spindles will be touching the floor with no bottom rail, so I added the same thickness wood under the bottoms to be sure the spindles are straight vertically. Then I taped down another thick piece of scrap wood for the spindles to butt up against, insuring they will all touch the floor evenly.


Dab on some wood glue in the center spot and line up a spindle onto it. Keep it straight and pushed up against the base wood that is representing the floor. Press your finger in the center of the spindle and nudge the bottom with the tip of your blade to get it perfectly straight, using the cutting board grid as your guide. 


Then add more spindles to the left and right, keeping them even as you go until the rail is full. Let the glue dry.


I use a fan to pull air away from me when using wood glue because I have discovered, no matter what brand I use, the fumes in the glue cause lesions on my face. For a long time I thought it was random acne or insect bites, but I finally figured out it was the glue! I also rinse my face and wash my hands after working with wood glue. A mask only made it worse because the fumes got trapped inside. I have sensitive skin, but do pay attention to your skin after working with it, you may be experiencing the same thing. One of my friends had a similar reaction.


Line up the scrap wood you used at the base and move it to the top and tape it down. Put dabs of wood glue on each spindle and lay on the other rail side, be sure it’s lined up left and right to the other rial side under the spindles and pushed up snug against the wood brace. Weight it down or hold it down until it sets.


Measure where the posts should go and glue them in. Test fit the rail set to be sure the posts are at the correct width. Brace the posts against something to be sure they stay straight. Let dry. 


Glue in your rail set by adding glue to the bottoms of the spindles and both ends of the rail. Remove any extra glue with a toothpick.


Touch up with paint, once dry.


I will be starting the landscaping of this piece in about a week. I have some really great techniques I am excited to try so be sure to subscribe to this blog! 


Wednesday, June 16, 2021

Timber Cabin part 5


I started to loose my desire to finish this piece recently. It was becoming more of a job than it was fun. I’ve been developing a habit of leaving a build part way through and starting another one over the past few years. Granted I do always get back to them, but it was important for me to stick with this one because I will be selling it once completed. I don’t think there is anything wrong with floating from one project to another if creating is something you are doing to relax. We all have different styles and habits. So I pushed through and once I started adding foam to the landscape I got excited again! 


Now that I am caught up with these initial posts equal to where I am with the build I will be sharing more details in my techniques with you as we move forward.


Once I finish this cabin I am planning on getting back to my French stone cottage (below) and sharing my journey with you. Who knows, we may make a few dolls in-between as well. I never know what I will make on any day. That’s what makes being an artist so much fun! 


Timber Cabin part 4

Here, I am showing the pin hinge doors I made. I was so thrilled when they worked so perfectly. I have always had problems with hinges, but it seems I am finally figuring it out after all these years! Practice, practice, practice and lots of patience.


I found the sweet little door handles on eBay. I love how delicate they look!


My shingle tutorial can be found here when I made the Kinfeld. 


I love the upstairs. I was grabbing coffee stir sicks from a coffee shop for a month when my boyfriend and I would go there. He would laugh at me each time. But one day we sat down and he pulled a big handful out of his jacket pocket for me! He said we were partners in crime! haha Hey, we eat there a lot so we paid for them in other ways. I stained them with a stain names 'driftwood'.


I started assembling the porch here. I was really nervous about this part but it turned out nice.


Timber Cabin part 3


I made the wall panels from gator board and glued 1/16" thick basswood on either side. 
Pressed overnight and then made the windows.


Originally I was going to make one wall removable until a friend made me realize you can easily reach in the room through the double doors or from the inside of the cabin. It’s important while you build to keep an open mind and be flexible with your design. Building does need some planning but there are always things that pop up that you couldn’t have predicted. One thing miniaturists are good at is solving problems!

Timber Cabin part 2

I am sharing some more photos of my cabin in progress. 


The windows were all made from scratch as well as the door. The Plexiglass used was actually from an old poster frame that still had the plastic seal on the Plexiglass. I was barely able to peel it off! But you can order Plexiglass in different thickness online. Michael’s used to have it in the frame section.


The stone on the fireplace was sculpted from Creative PaperClay.

I have an older post on my other blog that shows how to make stone here.