This little display rack or storage unit, depending on what you are using it for, is perfect for a mini shop. Mine is a shop for green witch supplies. The top unit is filled with candles. The second is filled with pouches to hold herbs and stones and the bottom shelf has a selection of rolled up altar cloths.
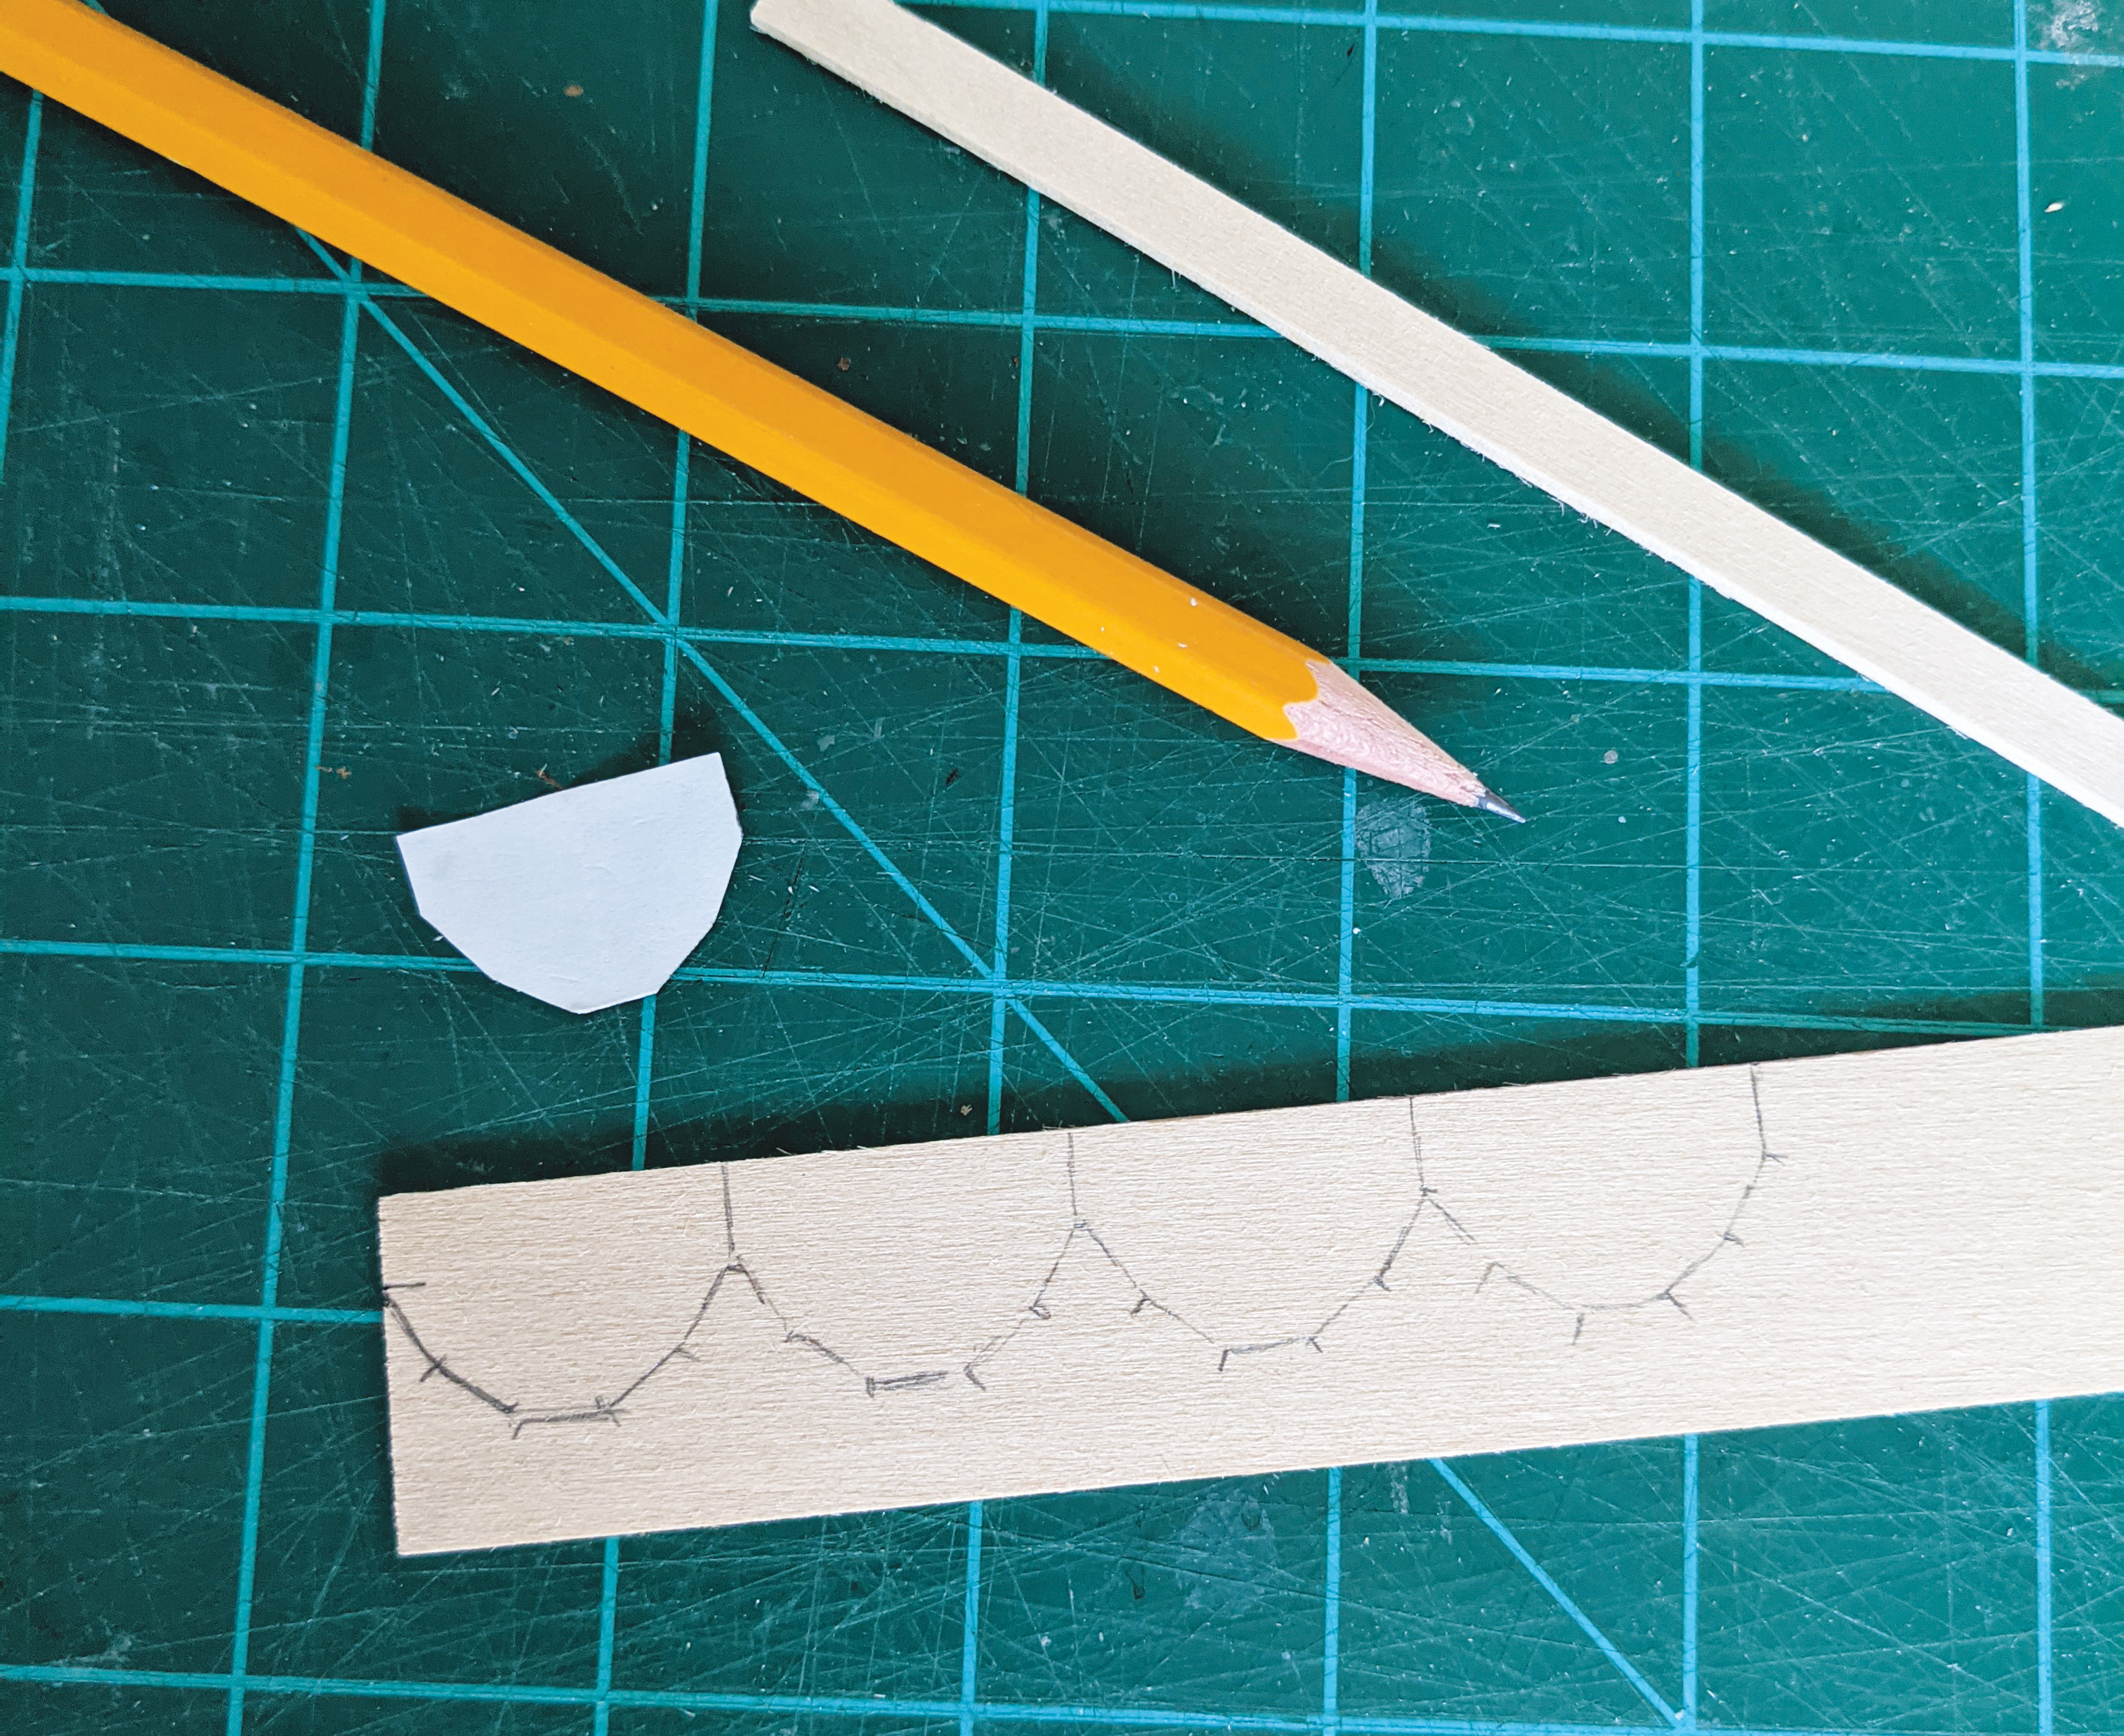
First, trace the pattern onto 1/16” thick basswood and cut the main side shapes into squares.
For the first cut, cut the diagonals as shown. Then for the second cut, cut the lower diagonals as shown.
I stacked them up and sanded each angled cut to try and get them uniform.
Cut the planks that are the width of the angles you just made on the main piece. (About 1/4” wide.)
Push 3 of the sides against a level backing and put a dab of glue on the ends of the planks and push them against the sides. Then add glue to the ends of those planks and push the second set of sides onto them so you have three sets as shown. Let dry.
Glue in the center base strips as shown. Keep any excess glue cleaned away. Using a toothpick. Let them dry.
Fill in the two left over holes with more strips. You may have to trim the width to fit. Let dry.
Cut 2 strips of basswood to 3-1/4” tall for the 2 side legs. Line the first half bucket up at and angle and draw the line on what will be the top of the side legs and trim both leg strips. Cut two 1” wide by 3/16” tall strips of wood. Mine are a little thicker than 1/16”. These are the feet.Sand the top and fronts of the feet so they are rounded. Glue the tall strips to the center of the feet. Let dry.
Stain all the components. If the stain doesn’t take to areas with wood glue, just paint those spots with a fine paintbrush and dark brown paint. Add a varnish if you like.
Glue the top half bucket on, lining it up with the angled cut at the top of the legs as a guide. Let dry. Be sure the feet are flush to the floor as it’s drying.
Glue on the bottom half barrel and try to keep it at the same angle at the top one is. Let dry.
Glue in the middle half bucket. Let dry.
Draw on some ‘nail’ marks with a black fine marker and fill with mini items. Now fill your piece with lots of goodies!
Little potion ship in progress...