
Hey everyone! I have the latest issues of American Miniaturist and Dollhouse Miniatures magazines in my eBay store!
I also have been down sizing my person la collection of dollhouse magazines there!
Click HERE for DHM and HERE for AM.
Hey everyone! I have the latest issues of American Miniaturist and Dollhouse Miniatures magazines in my eBay store!
I also have been down sizing my person la collection of dollhouse magazines there!
Click HERE for DHM and HERE for AM.


Get yours HERE!

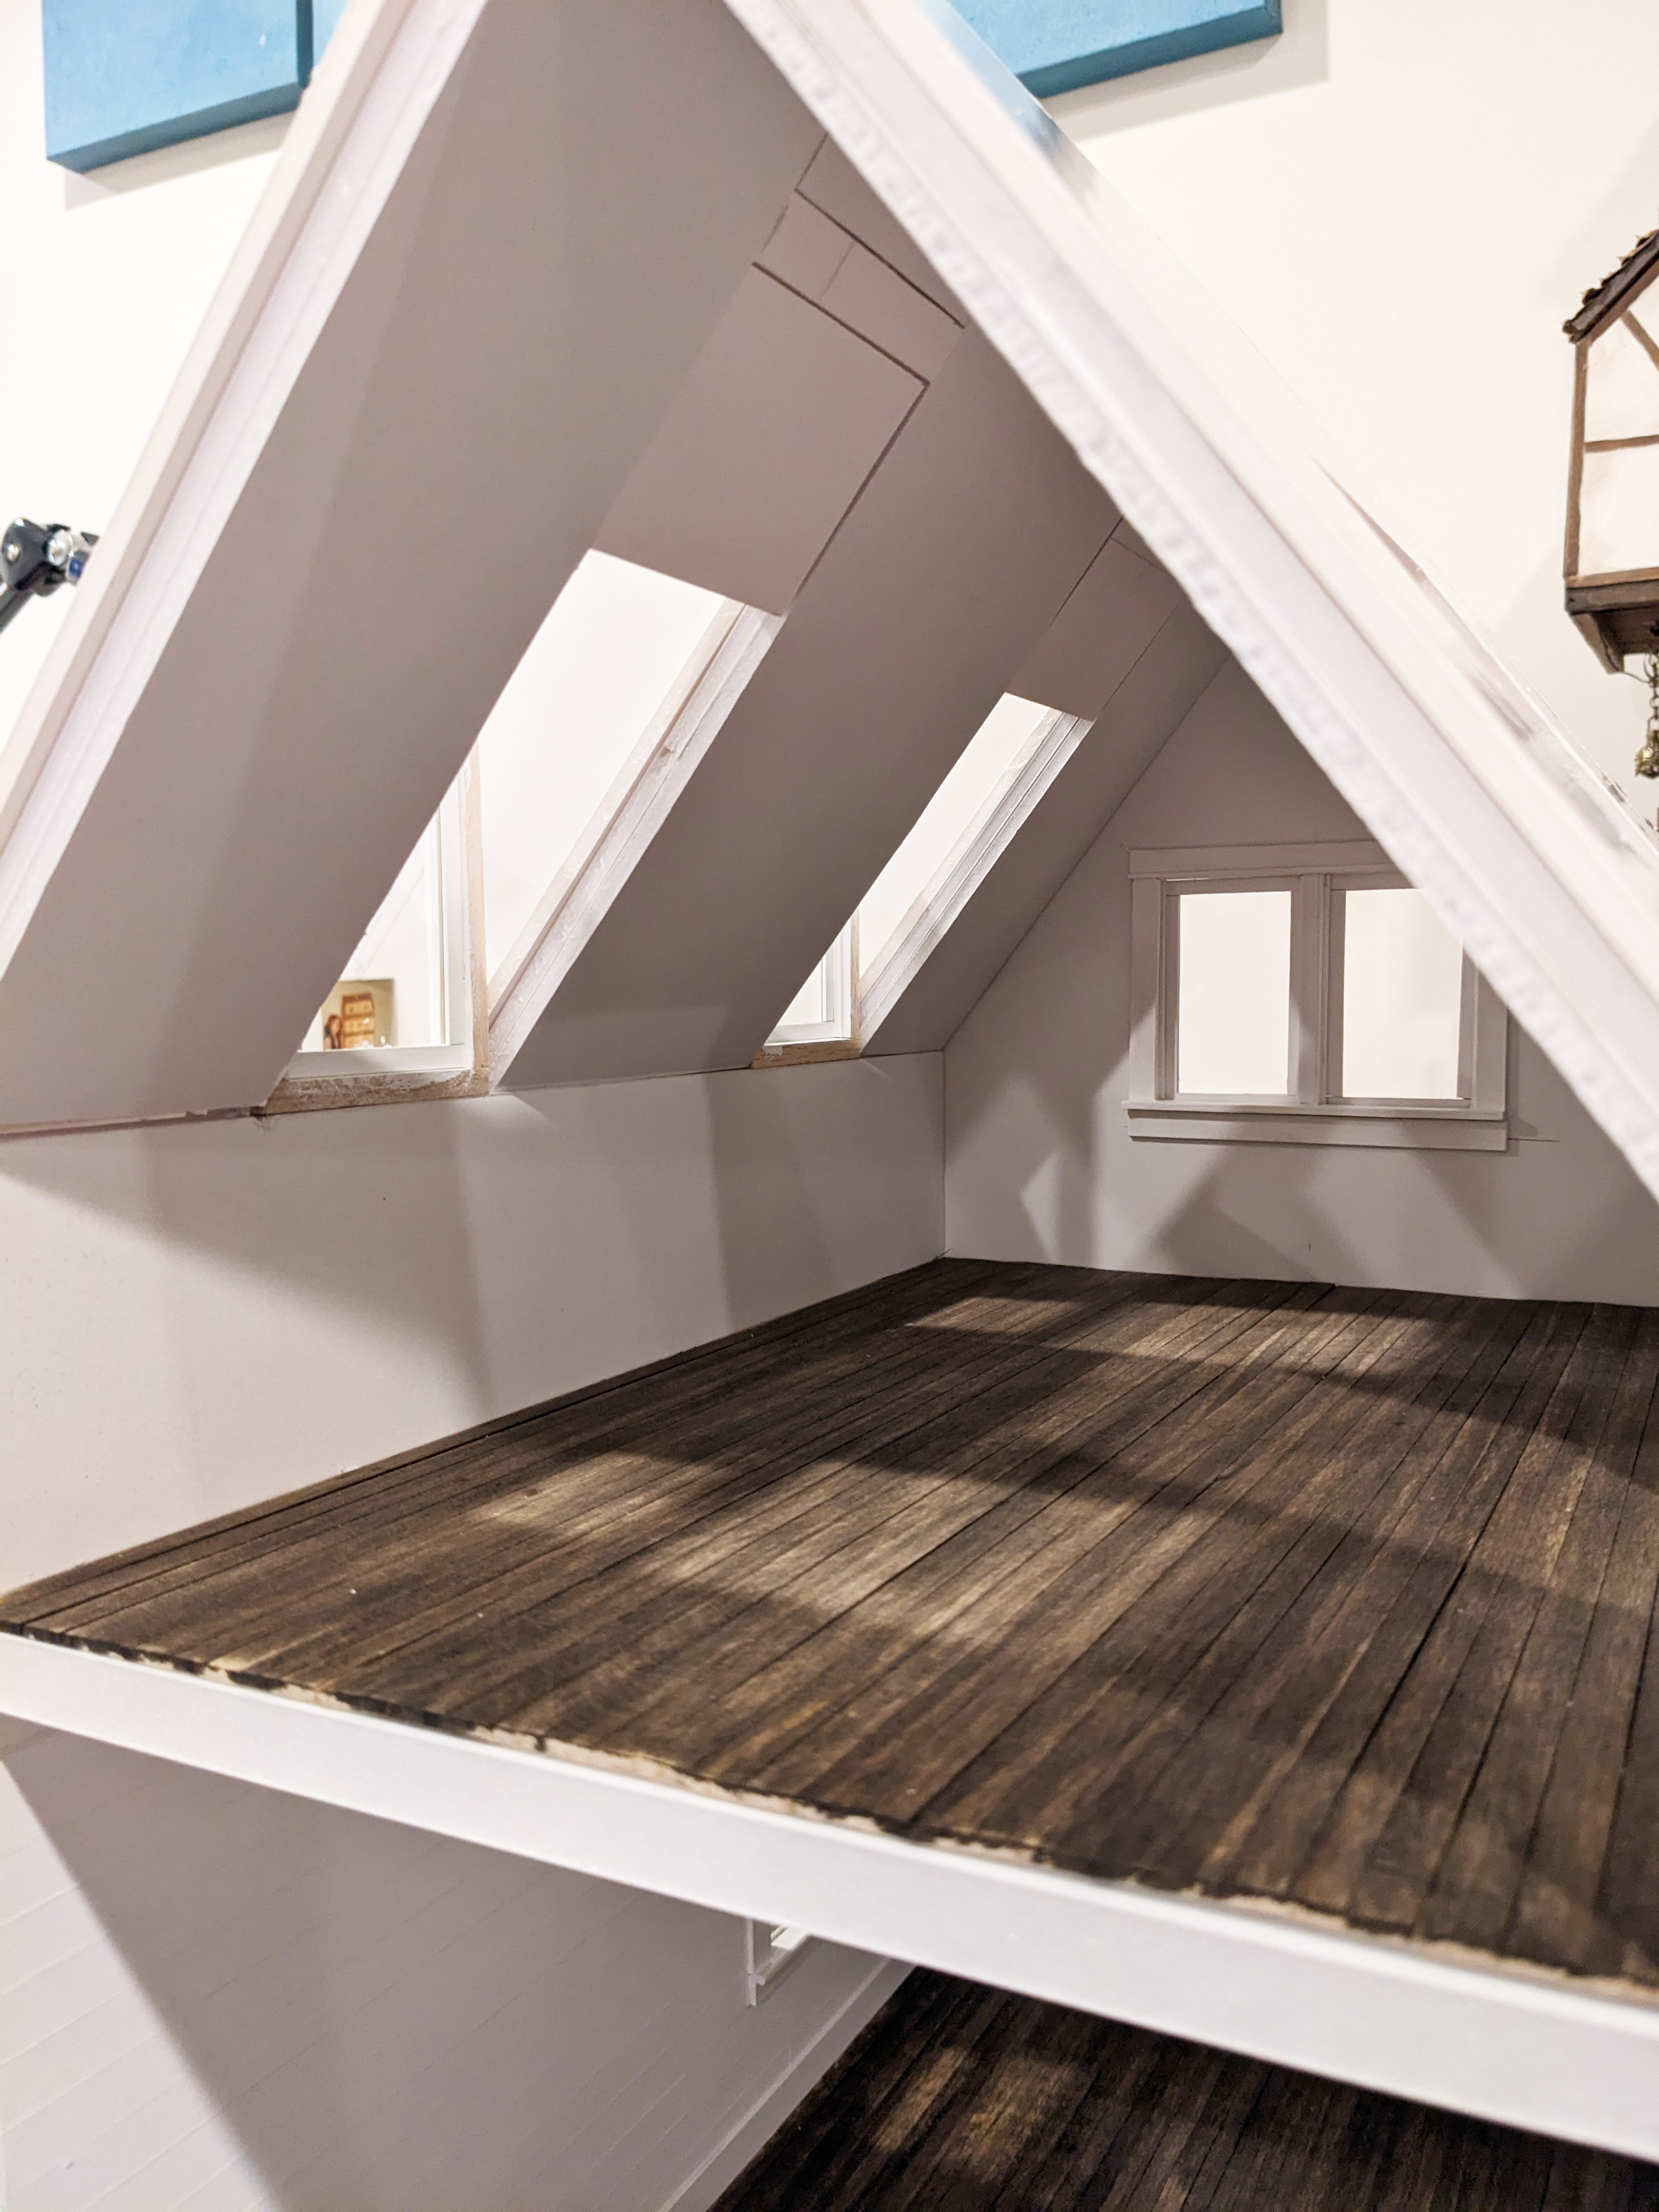
I have been getting little more done on my farm cottage. Main the upstairs has been challenging with the dormer windows but I finally have it sorted and it is tie to add the shiplap on the walls.


Plus I got spring fever and have been making bunnies! Thought I would share them with you!


I cut my (Mayberry Street Miniatures) floor sheet for my farm cottage to size. I gave it a stain and went over it with an electric sander once it was dry. You really want to give stain a couple days to dry. You will get a nicer effect if you want to sand it.

Then I had to fold over every individual plank seam and sand then brush it clean. A big thank you to my friend @aprilsminiworld (Instagram) for showing me this handy sander. It has a cushy handle and the sand paper attaches by way of Velcro. Perfect for fine detail sanding.


My boyfriend owns an auto shop so I swung by and snagged a buffing cloth to rub the floor down. It worked great and took out any extra loose wood fibers and gave the stain a nice smooth finish. I didn't want to sand it after it was installed because the dust would get down in the seams.

I'm trying some new glue today because whenever I use yellow wood glue I get small lesions on my face. The boyfriend thinks they are chemical burns from something that's in the yellow glue. I got this DAP Wellwood glue from miniatures.com and it seemed to do the trick and didn't give me a reaction! It goes on clear and you have about 2 minutes to reposition and then it cures in 30 minutes. It does have an odor so you want to be sure you have ventilation.


For Christmas my boyfriend surprised me with this really cool carbon air filtering system that I now turn on whenever I work with chemicals. It's very quiet and keeps the air in my studio clean. It can be hooked up to a covered laser printer or 3D printer also.


Next applied a satin varnish, sanded and reapplied. I will add a little wear and tear in the main foot traffic areas. So my floor is in, now I will put the ceiling on and start the second story!


I'm starting a new build (a small 3 room farm cottage) and decided to do something a little backwards for me. I'm making my windows and doors from scratch first. This way I'm not restricted by specific measurements. Instead, they will dictate the space that's cut out from the walls.


Windows are done! hey are non-working windows. Now onto the front door!
This shows the progress of my front door. I wanted it to look like someone salvaged an old door. It stays open so I will need to add a little more to the jam to give it a snug close. A few strips of cover stock will do the trick!


I can't be happier with this beautifully mitered corner for a door frame! I used the Miter-Rite™ sold at miniatures.com.
The blade has no wiggle to it and makes perfect cuts!


The more contemporary door will be the pantry door. Hey! Who is that cute little guy?

I have the lower level of my farm cottage assembled. The base is Gator board to prevent any warping and because the second story floor will also be Gator board I was able to use half inch thick foam board for the walls. Wood glue and long nails are used to hold everything together I am in the process of cutting bristol board strips to use as shiplap on the walls downstairs.Finished the doors! I wanted a vintage Victorian door that looked like it was rescued for the front door. Here is the space before I installed the floor.
More on that in the next post!


