Tuesday, June 20, 2023

Dollhouse rustic dining table

Let’s turn this miniatures.com unfinished wood table into something extra special! Keep in mind you can change your paint color or your stain color to anything you wish. 


Mark the width of the planks that you would like on top of your table with a pencil on a scrap piece of paper. 

Make an indent with your knife at the ends of the table then use the back of your knife with a metal ruler to make a line in the wood. Take your time, nice and slow, so you don’t veer away from the ruler. (The wood grain may pull your blade tip away.) 

Then use a needle tool to make the indent deeper and repeat with the back of your knife again to get out any splinters. You want a nice, smooth divot in the wood to simulate planks. 


Sand your table smooth then stain your wood with the ’Driftwood’ stain shown. It does go on with a yellowish tint, but will dry more brown/gray. Let your stain dry completely. 


Next, use a sharp needle tool to make gouges and indents in the wood planks so that they appear to be more aged, sort of like old barn wood. You want your gouges a bit deep because the paint needs to stay in them. You can also use screwdrivers and other strong metal tools to make indents. I used tweezers. I went harsher with my indents but you can also make them more understated.


Apply your paint so that it fills in all the gouges and indents. Let the paint dry completely. 

Now make a sanding block by stapling sandpaper onto a wood block. I started with a coarse sandpaper and finished with a finer one.


Sand down the top of your table just enough to take some paint off and leave exposed wood.

Go back into the space between the ‘planks’ with the back of your knife and the needle tool. You don’t want dust or splinters in there. I also used a coarse brush to clear away any dust.


To finish, I buffed the table top with a clean cotton cloth. This gave it a nice natural shine. 


Monday, June 12, 2023

Rustic sideboard dollhouse table

 Minatures.com sent me this unfinished table and I am going to show you how tomato an unfinished piece of dollhouse furniture into something extra special! This table came with two little baskets for storage.

First, sand down the edges of the table so they are rounded. You can also use your knife to cut away the edges for a more rustic effect. 

Use a needle tool and a metal ruler to create planks to the top of your table. Determine what width they will be so they are all even. Then run your needle tool along the table top at a slight angle. Press down as you go. You may have to repeat a few times to get a nice depth.

Use a small saw to define the ends of the table to give the illusion of wood planks by sawing into the wood. 

Use your needle tool to clean up any splintering.

Next, use the needle tool to add grooves in the planks. Let the grain of the wood guide your needle tool as you gently press. You don’t want to press as hard as you did for the planks. Study a piece of aged wood to get a realistic effect. I make a few lines coming up from the ends then run lines in a stacked fashion along the board.


Add some fine scratches here and there in little patches using the needle tip. I added a few knots by making what looks like parentheses and an indented dot in the center. The dark stain will fill in the scratches and create a nice effect.

Stain just the top section of the table with the wood stain of your choice. I used Minwax Special Walnut. Stain the sides and just under the edge of the table top. Let it dry.

Sand the table top with fine sandpaper and give it another coat of varnish. Let it dry and sand one last time.

Paint the base in one coat of a grey acrylic paint. I used Ceramcoat Rain Grey. Let dry then sand it smooth.


Now let’s add a cracked paint effect! Folk Art Crackle medium is ideal. Paint it wherever you want the paint to look crackled. I used it just about everywhere except the majority of the lower platform where the baskets will be. Let it dry.

Paint on the color you want. I used Ceramcoat white. Just one coat and it crackles immediately. Add a wash of white paint over the lower platform.

Baskets

Take your baskets and dip them into a can of stain with tweezers. Pull them out and place them on an old rag to absorb extra stain. Use a paint brush to evenly distribute the stain on the wicker, Let them dry. Paint them with a matte varnish. Let them dry.


Display your table! 


Friday, March 24, 2023

Thursday, March 23, 2023

Farm cottage dollhouse


My birthday is coming up and my dear friend Joan sent me this beautiful little doll made by Karen Tadman as a present. She will look so great in my modern Farmhouse! Now I just need two white ducks as pets!

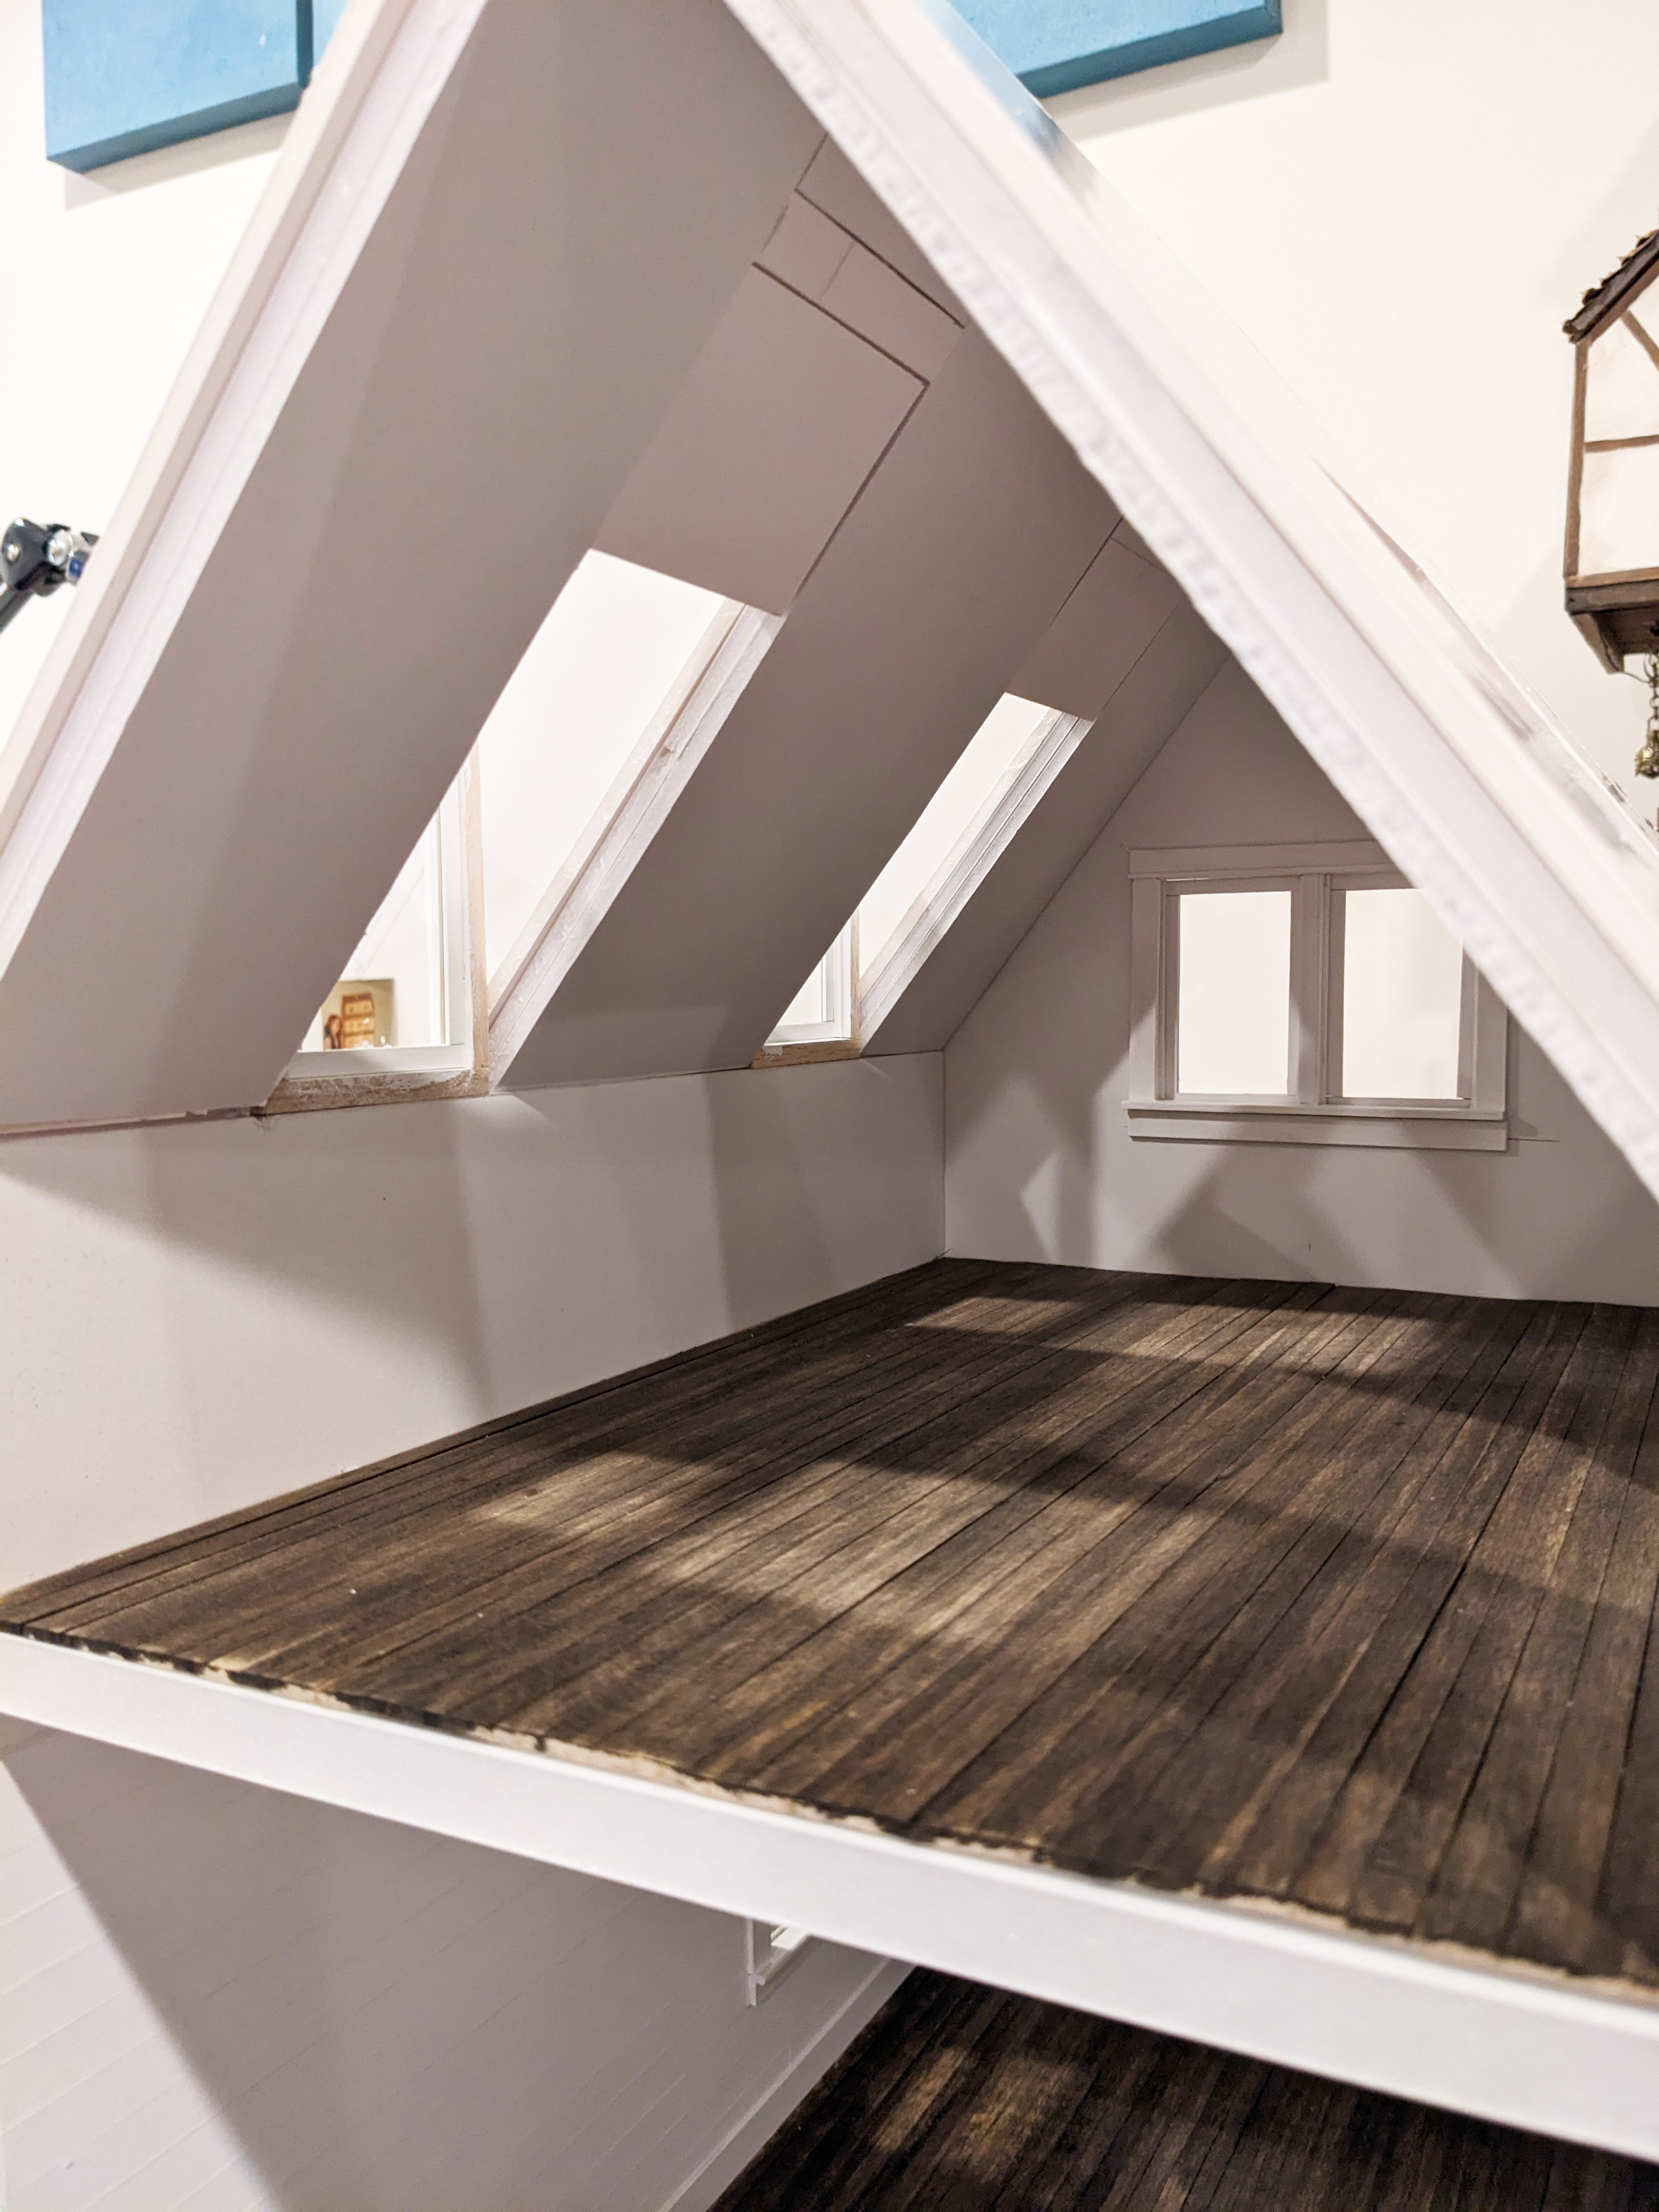
I have been getting little more done on my farm cottage. Main the upstairs has been challenging with the dormer windows but I finally have it sorted and it is tie to add the shiplap on the walls. 


Plus I got spring fever and have been making bunnies! Thought I would share them with you! 


Have a fabulous spring!

Monday, March 6, 2023

Preparing dollhouse floors


I cut my (Mayberry Street Miniatures) floor sheet for my farm cottage to size. I gave it a stain and went over it with an electric sander once it was dry. You really want to give stain a couple days to dry. You will get a nicer effect if you want to sand it.


Then I had to fold over every individual plank seam and sand then brush it clean. A big thank you to my friend @aprilsminiworld (Instagram) for showing me this handy sander. It has a cushy handle and the sand paper attaches by way of Velcro. Perfect for fine detail sanding.


My boyfriend owns an auto shop so I swung by and snagged a buffing cloth to rub the floor down. It worked great and took out any extra loose wood fibers and gave the stain a nice smooth finish. I didn't want to sand it after it was installed because the dust would get down in the seams.


I'm trying some new glue today because whenever I use yellow wood glue I get small lesions on my face. The boyfriend thinks they are chemical burns from something that's in the yellow glue. I got this DAP Wellwood glue from miniatures.com and it seemed to do the trick and didn't give me a reaction! It goes on clear and you have about 2 minutes to reposition and then it cures in 30 minutes. It does have an odor so you want to be sure you have ventilation. 


For Christmas my boyfriend surprised me with this really cool carbon air filtering system that I now turn on whenever I work with chemicals. It's very quiet and keeps the air in my studio clean. It can be hooked up to a covered laser printer or 3D printer also.


Next applied a satin varnish, sanded and reapplied. I will add a little wear and tear in the main foot traffic areas. So my floor is in, now I will put the ceiling on and start the second story!